Here is a Grey Scale Tester which shows the grey scales from 0 to 255.

Here is a Grey Scale Tester which shows the grey scales from 0 to 255.
I found this document from HasselbladDigitalForum.com and I may want to use it later.
Not the actuation reset(cannot be done) but the file name counter reset by this document.
Hasselblad Digital Back File Counter Reset
(The above original link is no longer working…)
Hasselblad Digital Forum -> Main Board -> Tips and Tricks
https://www.hasselbladdigitalforum.com/index.php/board,9.0.html
H3DII-39, How I can change the raw-name:
https://www.hasselbladdigitalforum.com/index.php/topic,822.msg4291.html#msg4291
November 26, 2009, 09:36:28 AMLast Edit: September 16, 2010, 09:35:16 AM by HLArt
Here is the how to do: “Go in the back menue to the point “settings” then push the button “Info” and the button “arrow to right”, to the same time, or in succession, in the next menue the menue spring automaticliy, scroll down, you will find there a new entire down the last place, that called “service”, enter there and scroll down to the point “reset lifecounter”. It set the counter to “0”. I take my CF-card into the laptop and type with texteditor the number I want to have as next in my conter and then I put it into my Cam, to do the next shot. And you`ll see its no wonder, the right figure you will see on your backscreen.
Kr Hörbi
I have to say that I was never happy with my Nikkor 85mm F/1.4 AF-D lens outputs. After using it on D800E and D3, I was sure that its AF is off – back-focusing…. So I looked for some good AF Focus Test Charts on the internet and found some.
http://regex.info/blog/photo-tech/focus-chart
http://www.bealecorner.com/trv900/respat/
http://focustestchart.com/focus21.pdf
I must say that I am rather disappointed with the results of my AF testing on all of my current Nikkor lenses. Only one lens is spot on and the rest needs some AF Tuning on the both cameras. For some reason, they all experiences back-focusing and none with front-focusing…
Focus Test Chart Instruction PDF
The new Nikon D800(E) produces 36MP shots out of the camera and I always wonder how they compare with medium format digital back(MFDB) outputs like Hasselblad H3DII-39. In the camera world, size matters!!! In the film world, film size matters!!! In the digital world, the sensor size matters!!! The question is about the 35mm format lenses. Can they produce 36MP cable images? I am not going to even try to answer this question. Here are some of the charts that I use to compare/discover the resolution of the lenses and camera sensors.


The process to re-calibrate the full battery gauge:
1) Charge the battery for 8 hrs in the charger.
2) With NO battery, lens or viewfinder installed on the camera, press the orange on/off button for a few seconds to make sure the camera is fully discharged.
3) Press the flash and menu buttons at the same time on the camera grip, and hold them as you install the freshly charged battery.
You should then here a rapid series of beeps(three short beeps within a second or so on H3DII/H4D) indicating the PMU on the battery has been reset. If not, repeat steps 2 and 3.
With the battery installed, press the button just above the on/off button and hold it to see the battery status. It should read 100%
http://www.luminous-landscape.com/forum/index.php?topic=38924
http://www.hasselbladdigitalforum.com/index.php?topic=101.0
2013/04/05 Update:
Here is an instruction from Hasselblad UK with some pictures: http://www.hasselbladbulletin.com/uk/sep-2011/tips-tricks/h-system-battery-handling.aspx
There are many, I mean, many torrent GUI clients out there but this is the one that I have been using – Vuze(http://www.vuze.com/)
Torrent search sites:
http://bitsnoop.com/
To show hidden files, in Terminal:
% defaults write com.apple.Finder AppleShowAllFiles YESalt + right-click on Finder -> Relaunch
To hide hidden files, in Terminal:
% defaults write com.apple.Finder AppleShowAllFiles NOalt + right-click on Finder -> Relaunch
In order to install perl modules via CPAN, CPAN needs to be configured on OS X via the following command:
% sudo CPANwithin the cpan shell:
cpan> o conf prerequisites_policy follow
cpan> o conf make /usr/bin/make
cpan> o conf commit

> sudo port selfupdate
> sudo CPAN
cpan> upgrade CPAN
cpan> install Bundle::CPAN
cpan> upgrade
cpan> install YAML
cpan> install Text::xSV
http://beerpla.net/2007/10/12/cpan-the-perl-module-manager/
Web Site: http://www.macports.org
OS X is an UNIX OS. The Aqua GUI is nice an all but in order to get the full potential of OS X, you should know how to work with the Terminal(xterm) and scripts. Other free *NIXes have developed a nice package system and it is MacPorts that does package managements on OS X.
Requirement:
You need Apple Xcode Development Tools. Get it from AppStore(Link):
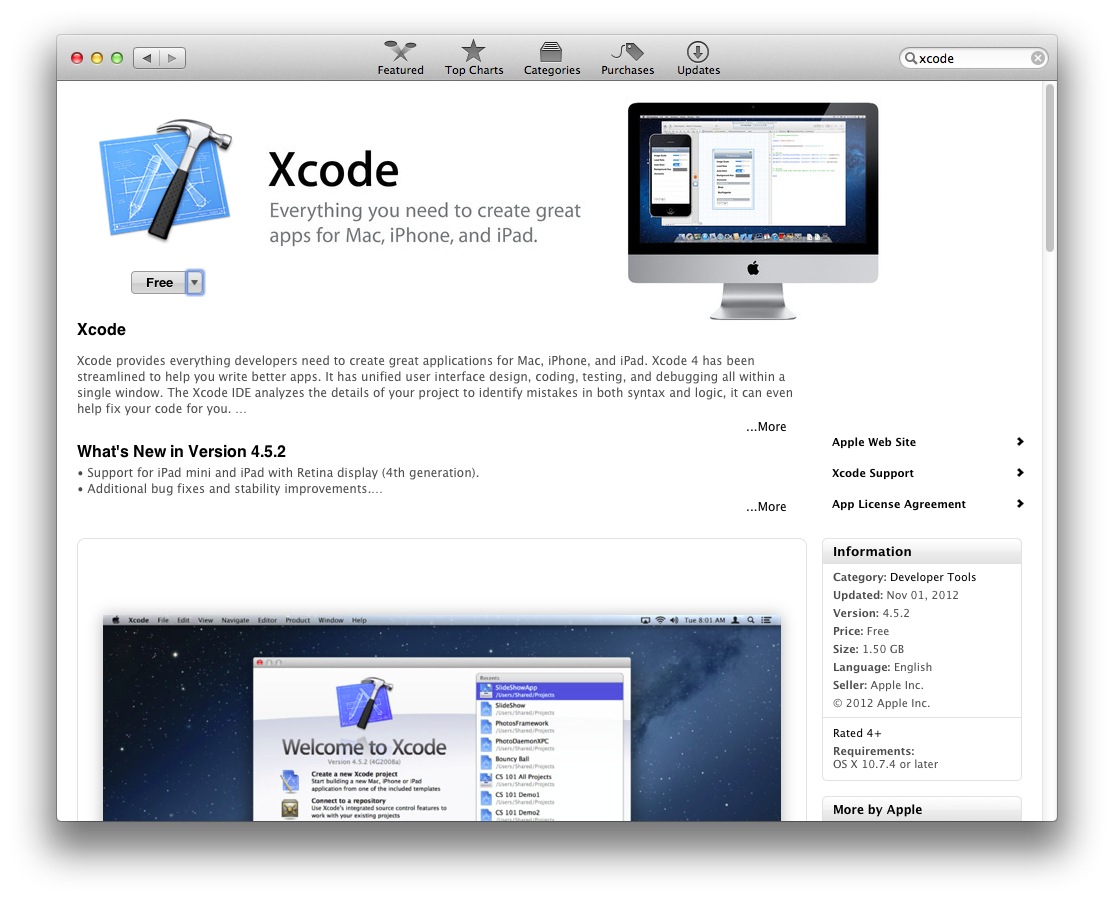
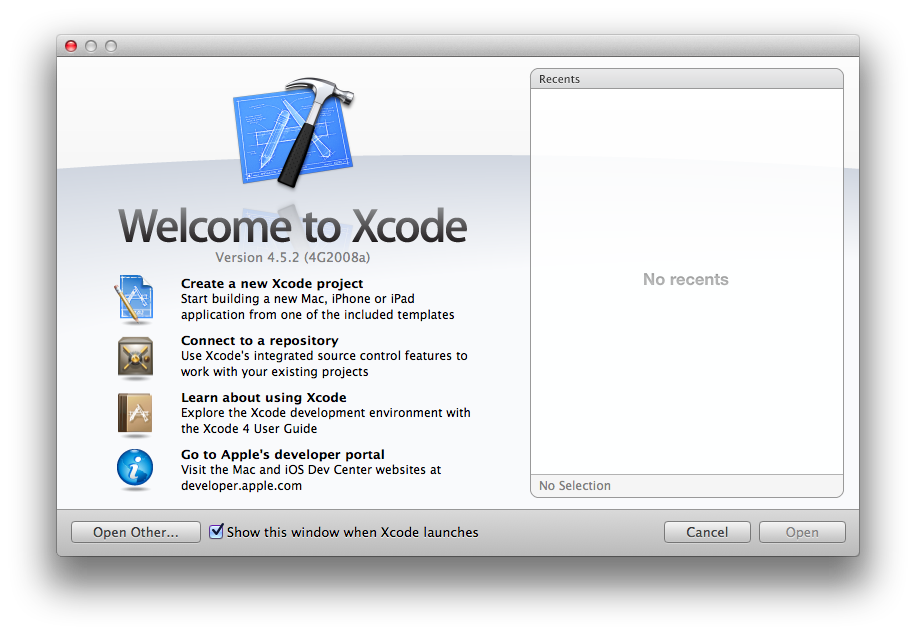
It is free!!! After it is installed, you need to accept Xcode EULA by either running xcode or entering the following command in the Terminal:
% xcodebuild -licenseGo to Applications then double click on the Xcode so it gets installed on the system.
Now the Command Line Tools needs to be installed. Go to Xcode->Preferences->Downloads:

Click on the “Install” button next the the Command Line Tools.
Now, MacPorts can be installed via .pkg/.dmg and the links are:
Mountain Lion: https://distfiles.macports.org/MacPorts/MacPorts-2.1.2-10.8-MountainLion.pkg
Lion: https://distfiles.macports.org/MacPorts/MacPorts-2.1.2-10.7-Lion.pkg
Snow Leopard: https://distfiles.macports.org/MacPorts/MacPorts-2.1.2-10.6-SnowLeopard.pkg
Leopard: https://distfiles.macports.org/MacPorts/MacPorts-2.1.2-10.5-Leopard.dmg
After downloading the .pkg/.dmg, simply double-click on it to get it installed.
Self update: in a Terminal type the following:
% sudo port -v selfupdate
Manufacturer’s web site: http://www.xrite.com/product_overview.aspx?ID=1454
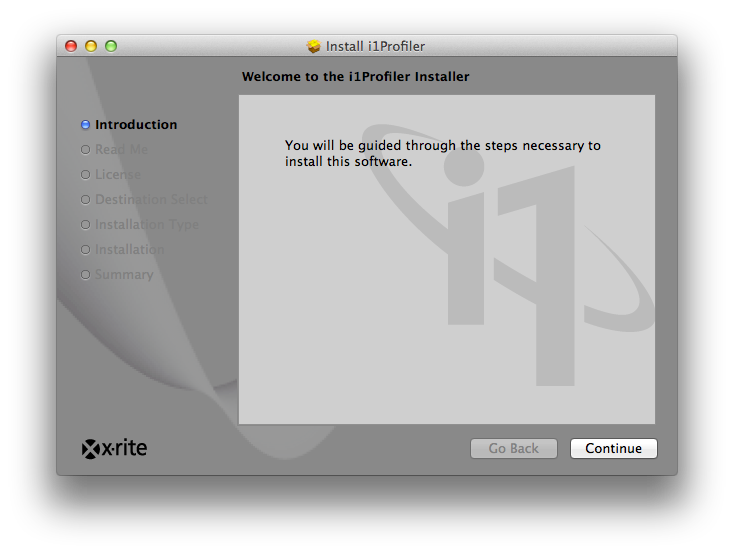
Forget the CD that comes with the calibrator, instead go to the manufacturer’s support page for the latest version of the software. In this case http://www.xrite.com/product_overview.aspx?ID=1454&Action=support&SoftwareID=1164 – download i1Profiler_v131.mpkg(you want to save it as .zip file) and open up the Downloads folder in the finder and double click on it then it will unzip and create a i1Profiler.mpkg file for you, double click on the i1Profiler.mkpg.
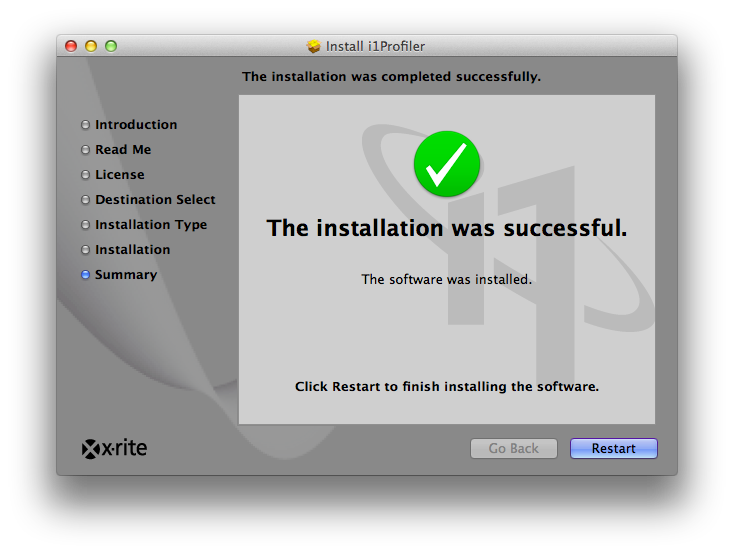
After installation is done, you must reboot the computer.
After everything is done. go ahead and run “i1Profiler” Applications -> i1Profiler
From here on, it will be the same procedure as Windows : http://yootopia.com/mystory/wp/2013/01/05/x-rite-i1-display-pro-calibration-windows/